Annotating Elements
Elements which have annotations are indicated by the presence of a solid notes icon either in the lower right hand corner of the shape representing the element in diagrams or in the annotations column of a table.
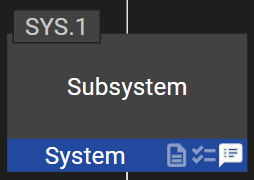
Annotations can be viewed by hovering over or tapping the solid notes icon.

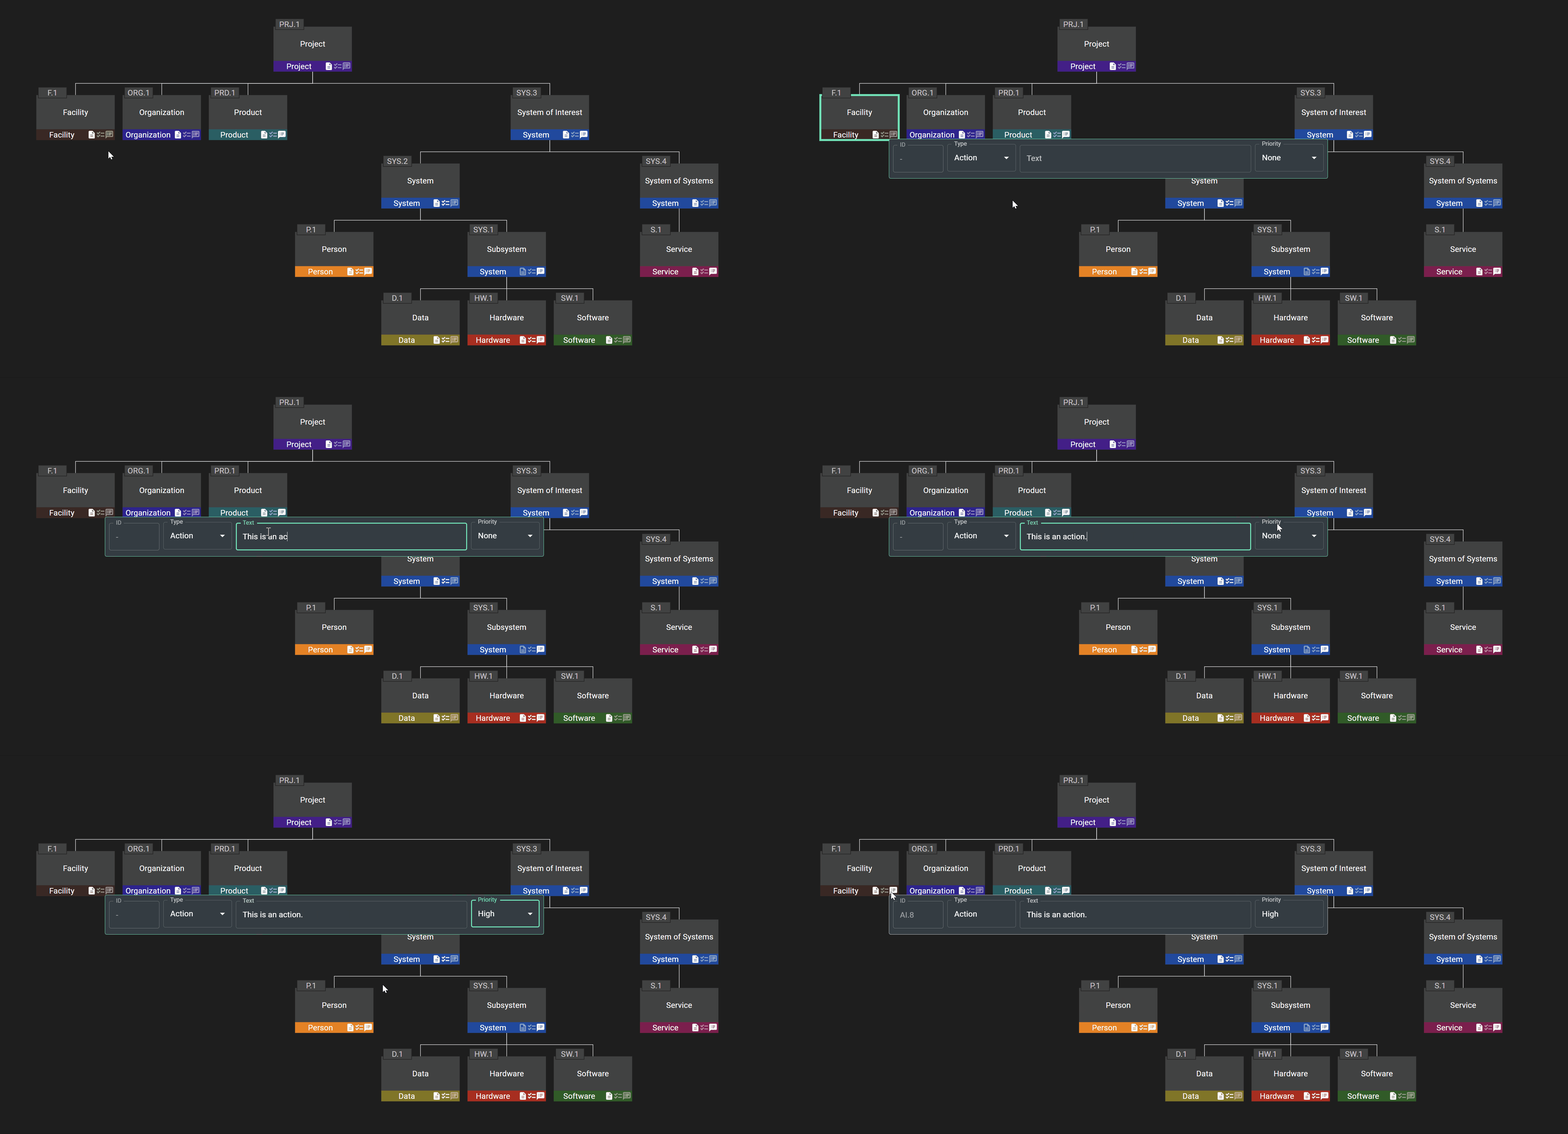
To add an annotation: click or tap on a notes icon to cause the annotation popover to stick in place. Then simply click or tap in the box and type away. Change the type of the annotation if desired. Click or tap anywhere on the diagram outside the popover to close it and commit your changes to the model.
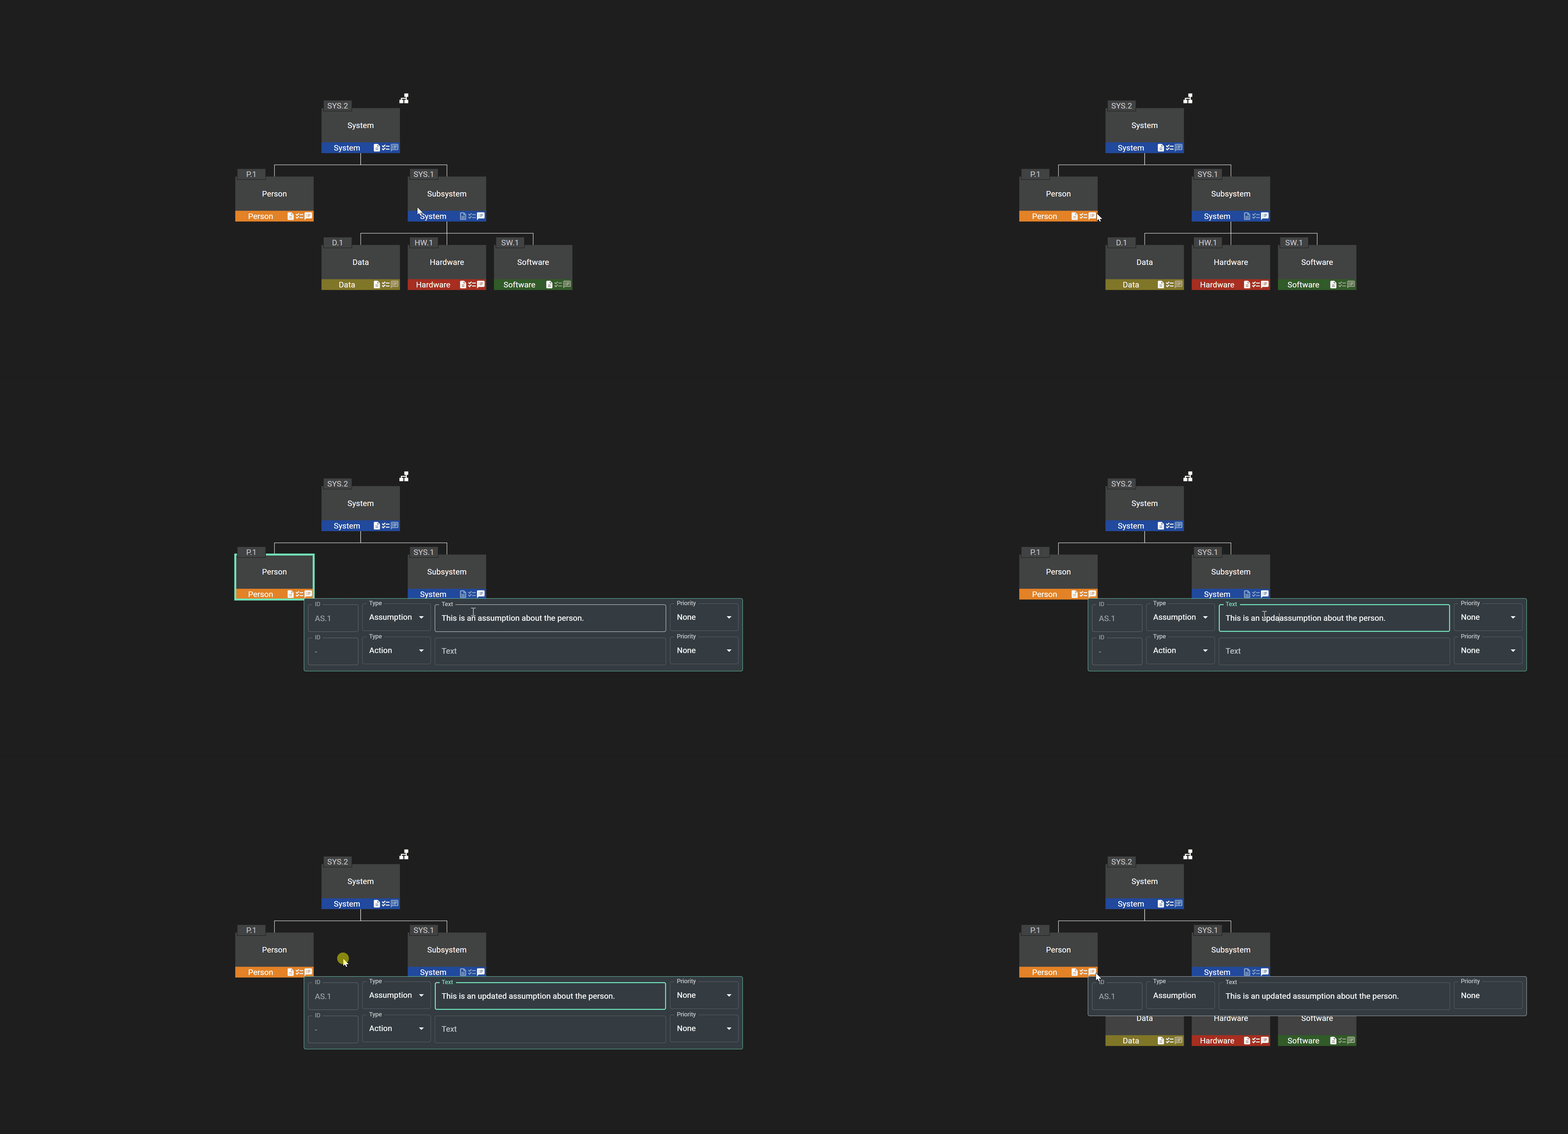
To update an annotation: click or tap on a notes icon to cause the annotation popover to stick in place. Then simply click or tap in the box containing the annotation you want to update and type away. Change the type of the annotation if desired. Click or tap anywhere on the diagram outside the popover to close it and commit your changes to the model.
To delete an annotation: click or tap on the notes icon to cause the annotation popover to stick in place. Then simply click or tap in the box containing the annotation you want to delete and select and delete its contents. Click or tap anywhere on the diagram outside the popover to close it and commit your changes to the model.
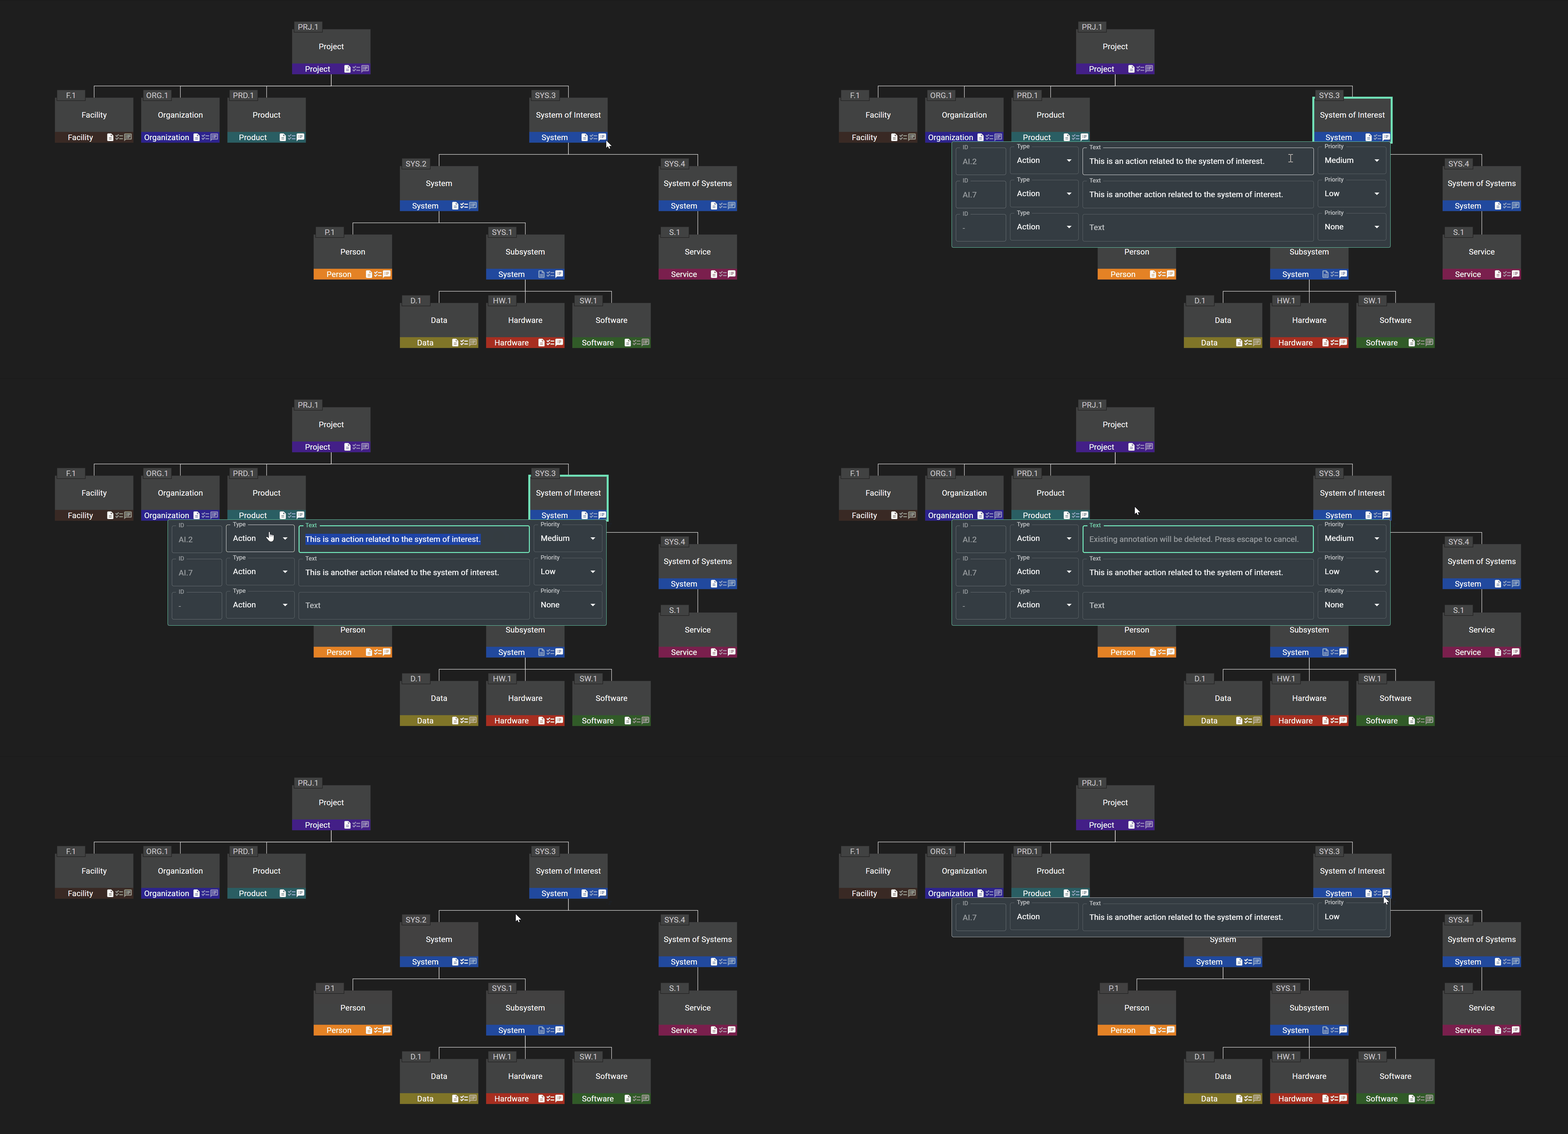
Press “escape” on the keyboard before clicking on the diagram outside the popover to restore the text and cancel the delete operation.
Working with annotations
The dashboard view presents the table of annotations in the annotations tab.
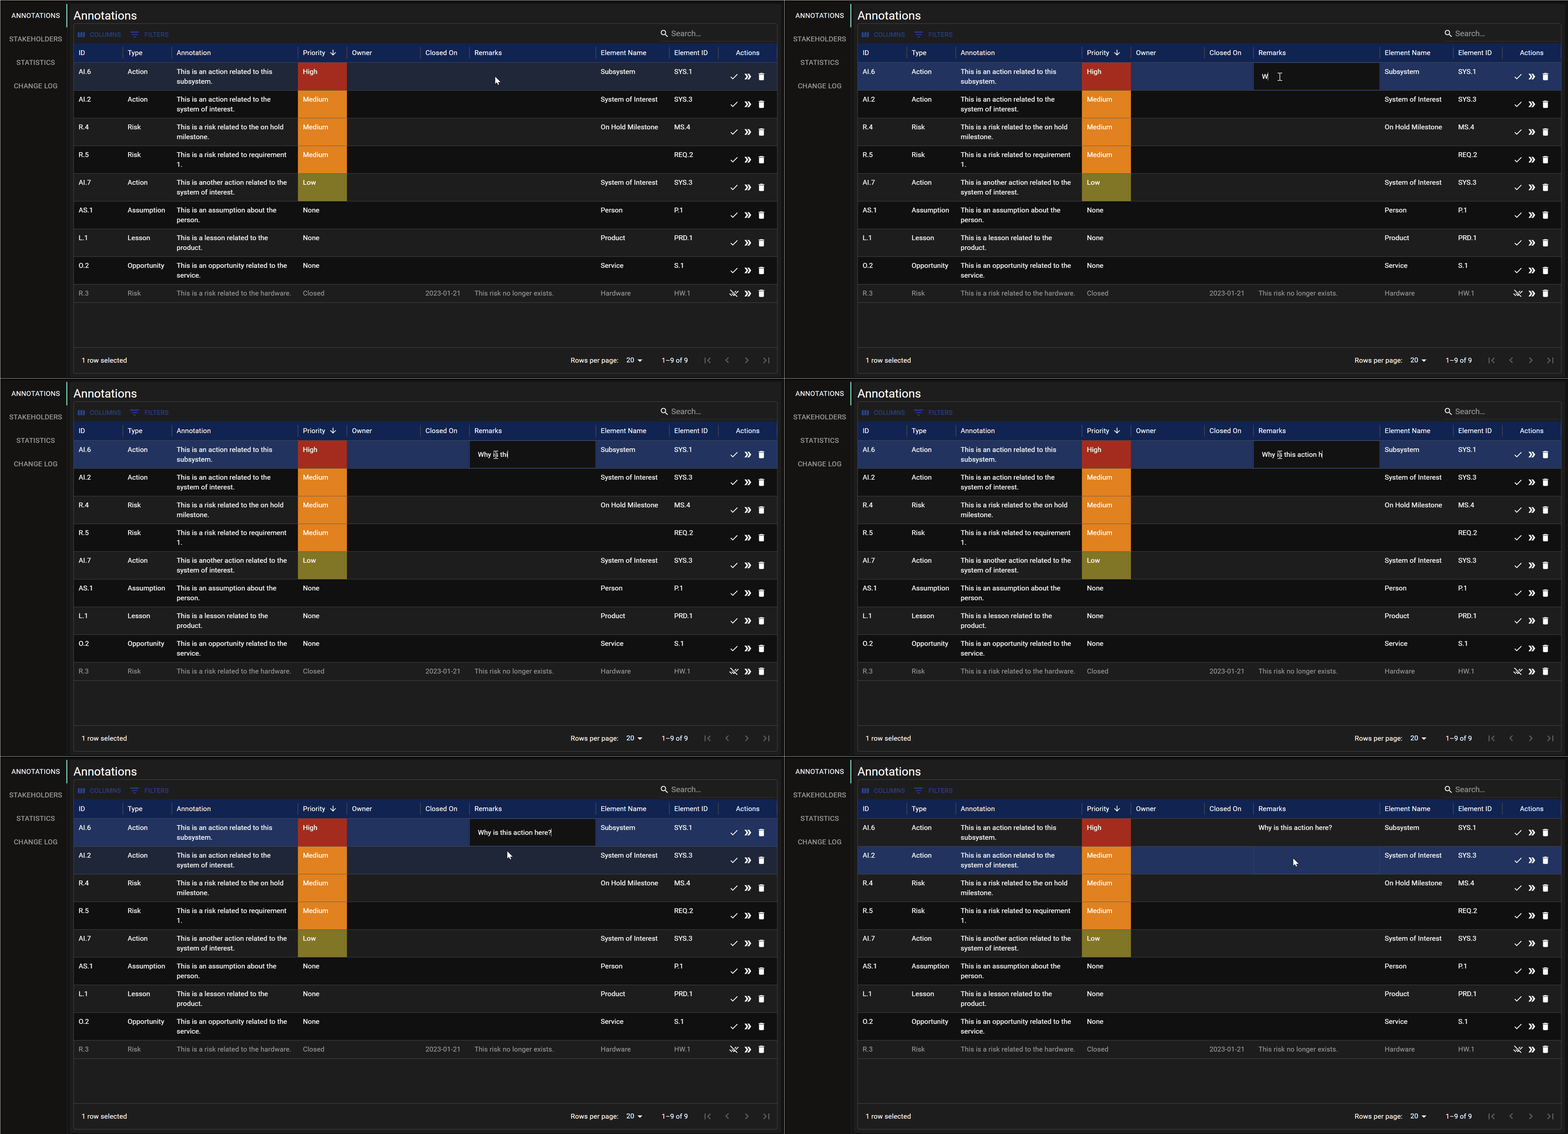
The annotations table offers text fields which can be edited by double clicking in the respective column.
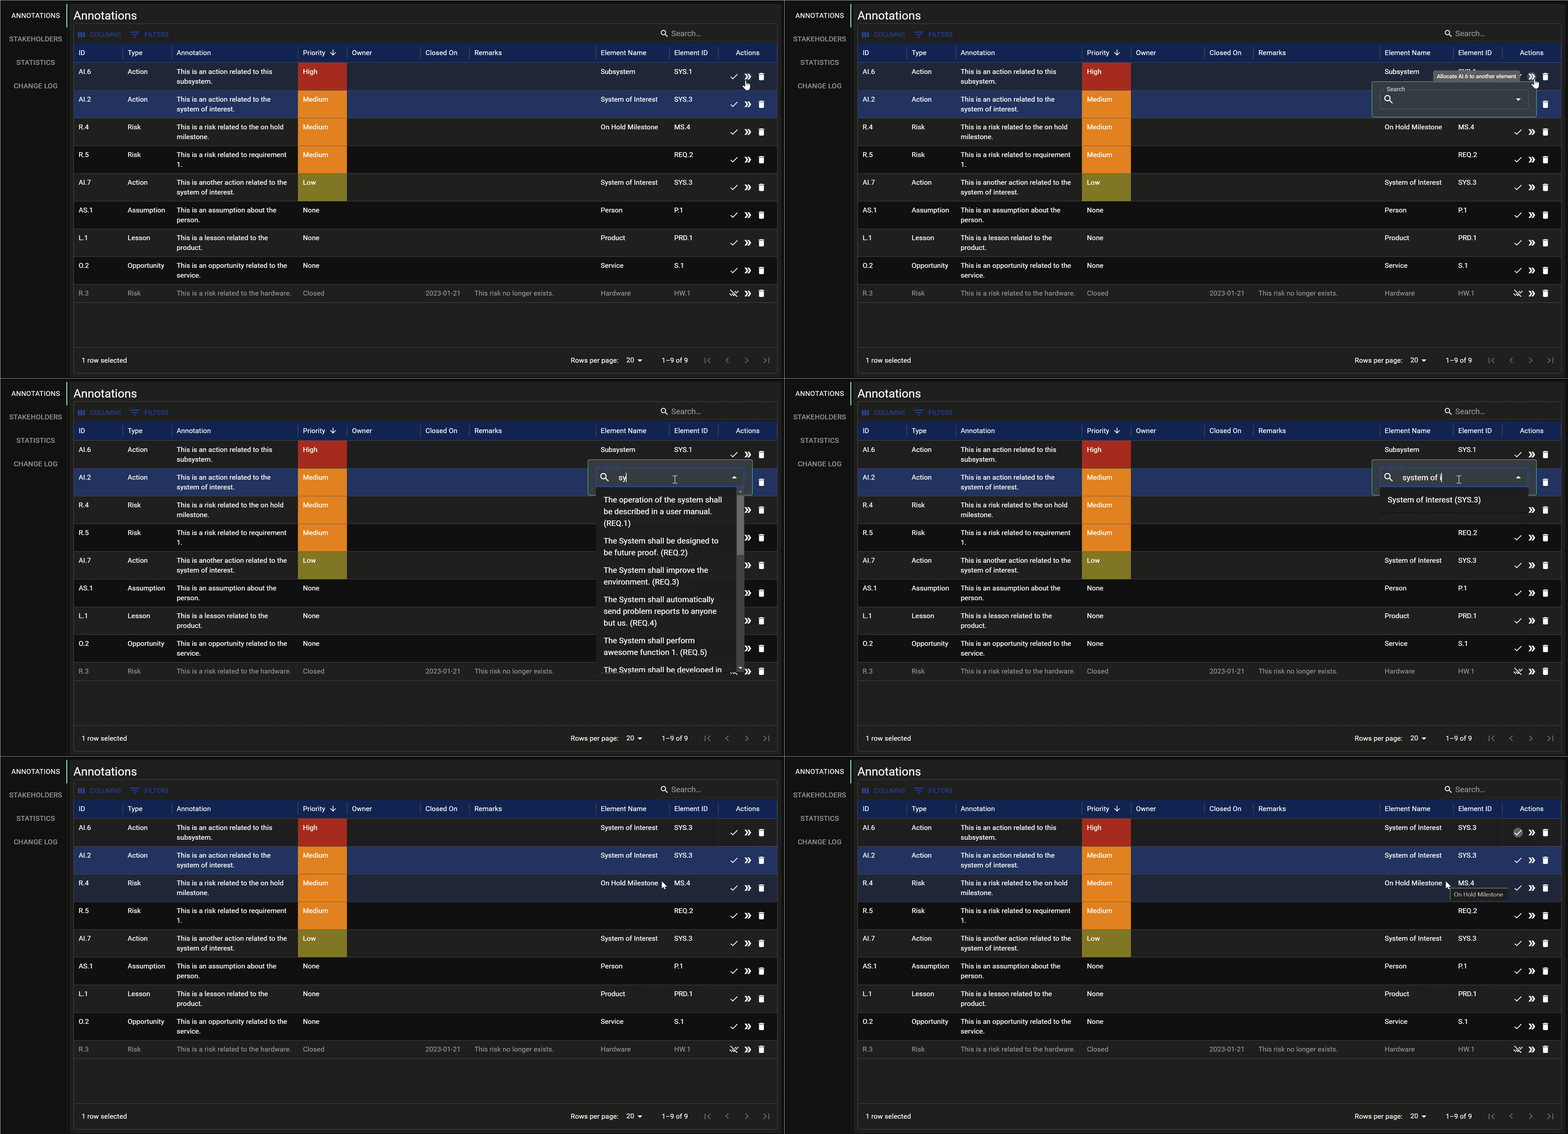
It also offers a column on the right hand side containing additional actions.
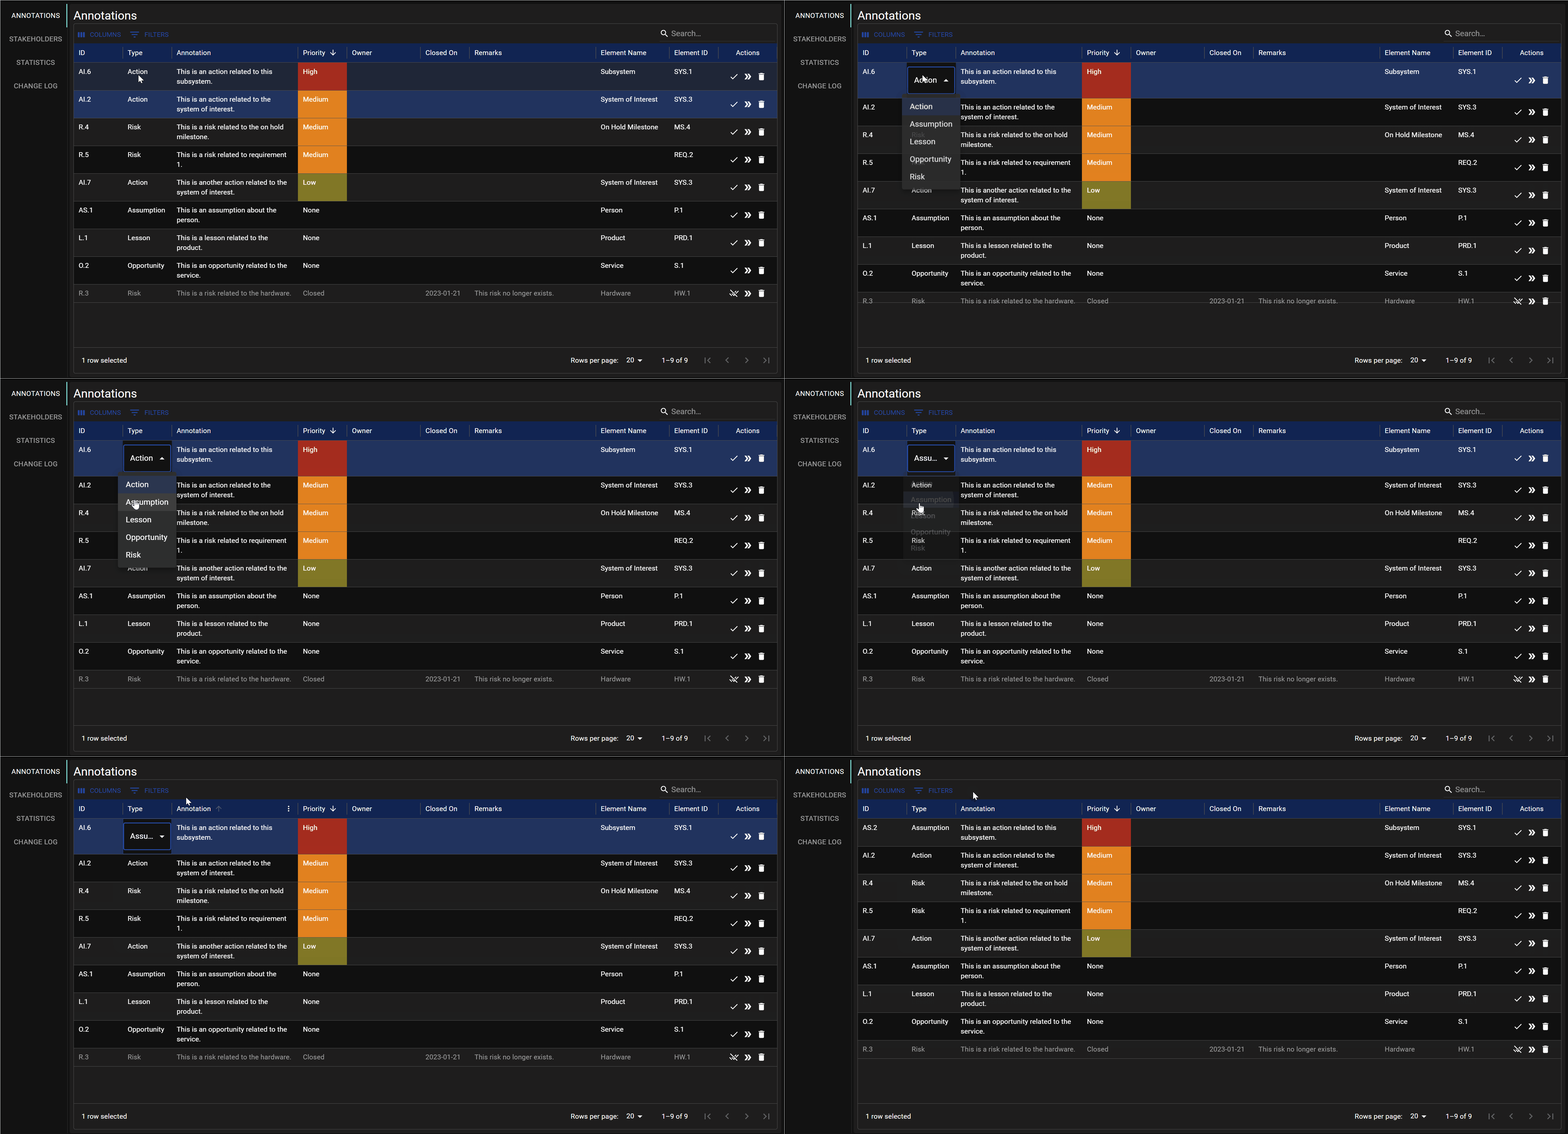
It is possible to change the type of an annotation via the annotation table in the dashboard view.
